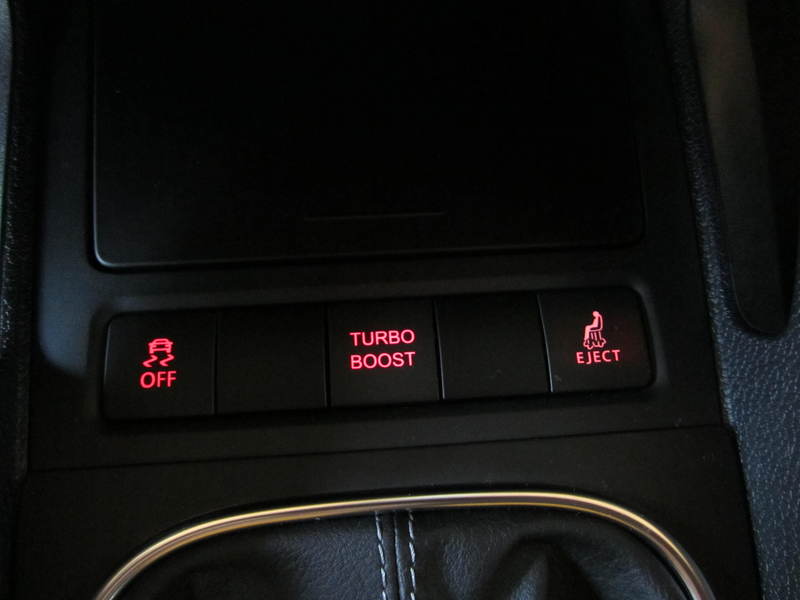
OK, I just made some pictures. But not the best ones as I did a quick shot with the photo light on my mobile in dark garage

But you will get the idea.
Putting it in there was a quick and dirty hack. So don't complain about not perfectly drilled holes; it kind of does the job.
The push-buttons are simple microswitches an I drilled a small hole and a countersink on the outside to get the opening just big enough to stick my fingers in deep enough to press the button. Then I just hot-glued the microswitch from the inside. I have a garage door opener with 2 buttons so I have fitted one button to the left and one to the right of the map light.
You might of course put in some real push buttons or something which looks more classy.

The electronics module easily fitted on top into the map light unit (wrapped in electronics tape). The power connectors soldered directly to the naked power rails for the lights. Use a multimeter to find the constant power or simply check the connectors shorted by the map light push button.
Regarding the battery: In my one it's a 12V Varta cell which is labelled "V23GA" which might be identical to a standard A23 cell. However this does not matter. As long as your remote is 12V-Powered you can directly hook it up to the map light power supply (unless it loses all data on each power disconnect). You will have to test. If your remote does not work directly attached to the cars 12V then just leave the battery in there and stick it up to the map lights unit including the battery. There is plenty of space up there and you will likely have to replace the battery only every few years.
The map light unit is pretty easy to remove. If I remember properly you just pull the plastic transparent cover on one side. Then remove the bulbs and remove 2 screws. Then just pull it (take care not to rip apart the cable).


